
How to Set Up a Sound System for a Live Event
Step-by-step sound system setup for Bay Area events—power assessment, speaker placement, mixer basics, wireless mics, and troubleshooting.
Setting up a sound system for a live event isn't difficult—but it does require careful planning and a systematic approach. Whether you're running a corporate presentation at the Moscone Center, a wedding reception in Napa, or a music festival in Golden Gate Park, the fundamentals stay the same: assess your venue's power and acoustics, place speakers for even coverage, connect and test your equipment methodically, and have a backup plan for common issues.
The difference between a smooth event and a technical disaster often comes down to preparation. Most sound problems stem from rushed setup, inadequate power planning, or skipping critical test steps. For a complete pre-event equipment checklist, see our corporate event AV checklist. This guide walks you through the complete process—from the initial venue walkthrough to day-of troubleshooting—so you can deliver clear, consistent audio that makes your event memorable for the right reasons.
1. Assess Your Venue: Power, Acoustics, and Layout
Before you load in a single piece of equipment, spend 20 minutes assessing the venue. This walkthrough prevents 80% of day-of problems. Start with power: identify all available circuits and their amperage ratings. A typical powered speaker draws 3-5 amps; a mixing board and rack gear another 5-10 amps. If you're running six speakers, a subwoofer, lighting, and projection off the same circuit, you'll trip breakers mid-event.
Map your circuits with a circuit tester or by plugging in a work light and flipping breakers until you find the source panel. Ideally, spread your audio gear across at least two separate 20-amp circuits. If the venue only offers 15-amp household circuits (common in older SF venues like the Palace of Fine Arts or historic Presidio buildings), you'll need to scale back your rig or bring a generator.
Next, walk the room and clap loudly in several spots. Listen for echoes, dead zones, and reflective surfaces. Hard floors, glass walls, and high ceilings (like those in SF's Commonwealth Club or tech campus atriums) create challenging acoustics. You'll compensate with speaker placement and EQ adjustments later, but knowing the acoustic signature now shapes your entire setup strategy.
Finally, measure distances from your mixing position to the stage and from the stage to the farthest audience members. This determines cable runs (always add 20% for routing around obstacles) and helps you calculate speaker coverage angles. A 200-person wedding in a Sonoma barn has very different needs than a 50-person boardroom presentation at Salesforce Tower.
2. Speaker Placement for Even Coverage
Speaker placement is where most amateur setups fail. The goal is consistent volume and clarity across the entire audience area—no hot spots right in front of the speakers, no dead zones in the back corners. Start by positioning your main PA speakers (left and right) at the front of the stage, elevated 4-6 feet off the ground on speaker stands or stacks.
Angle them inward slightly so their coverage patterns overlap at the center of the audience about two-thirds of the way back. Most PA speakers have a 90-degree horizontal dispersion pattern—meaning they spread sound in a 90-degree arc. If your audience area is wider than this coverage, you'll need additional fill speakers at the sides or a center cluster for large venues.
For events longer than 50 feet from stage to back wall, consider delay speakers placed midway through the audience. These reinforce the main PA and prevent the back rows from hearing a muddy, delayed wash. Set the delay speakers to arrive in sync with the main PA using a digital signal processor (most modern mixers have delay built in).
Subwoofers are non-directional below 80 Hz, so placement is flexible—but common choices include center-stage on the floor, or flown if you have rigging points. Avoid placing subs in corners unless you want boomy, uneven bass; corners amplify low frequencies unpredictably. For outdoor events (common in SF parks or Marin venues), remember that low frequencies travel farther and can disturb neighbors—plan your subwoofer levels accordingly and check local noise ordinances.
3. Cable Runs and Signal Flow
Signal flow is the invisible backbone of your sound system—mess this up and nothing else matters. Start at the source (microphones, instruments, playback devices) and work downstream toward the speakers. All input devices connect to the mixing board via XLR or 1/4" cables. XLR is preferred for microphones because it's balanced and rejects interference over long runs.
Run your cables along walls or under cable ramps—never across walkways where they'll get tripped over or damaged. Use gaffer tape (not duct tape, which leaves residue) to secure cables every 6-8 feet. Color-code or label both ends of every cable with tape and a Sharpie. When troubleshooting a wireless mic dropout at 7:45pm during cocktail hour, you'll thank yourself for this step.
From the mixer, your main outputs run to the PA speakers. If you're using powered speakers (built-in amplifiers), you'll send balanced XLR or TRS line-level signal directly from the mixer's main outs. If you're using passive speakers, the signal goes from mixer → power amplifier → speakers via speaker cable (not instrument cable—speaker cable has thicker gauge to handle amplifier power).
Keep audio cables away from power cables whenever possible. When they must cross, do so at 90-degree angles to minimize electromagnetic interference. I've seen $15,000 LED walls create ground loop hum in sound systems because the rental company ran power and audio in parallel for 75 feet. If you hear hum or buzz, this is the first place to look.
Build a simple signal flow diagram on paper before you start connecting gear. It takes five minutes and catches mistakes like forgetting to bring a stereo-to-mono adapter for the client's laptop or discovering you're one XLR cable short for the podium mic. For complex setups (panels, bands, multi-zone audio), this diagram is essential for troubleshooting under pressure.
4. Mixing Board Basics: Gain Structure and EQ
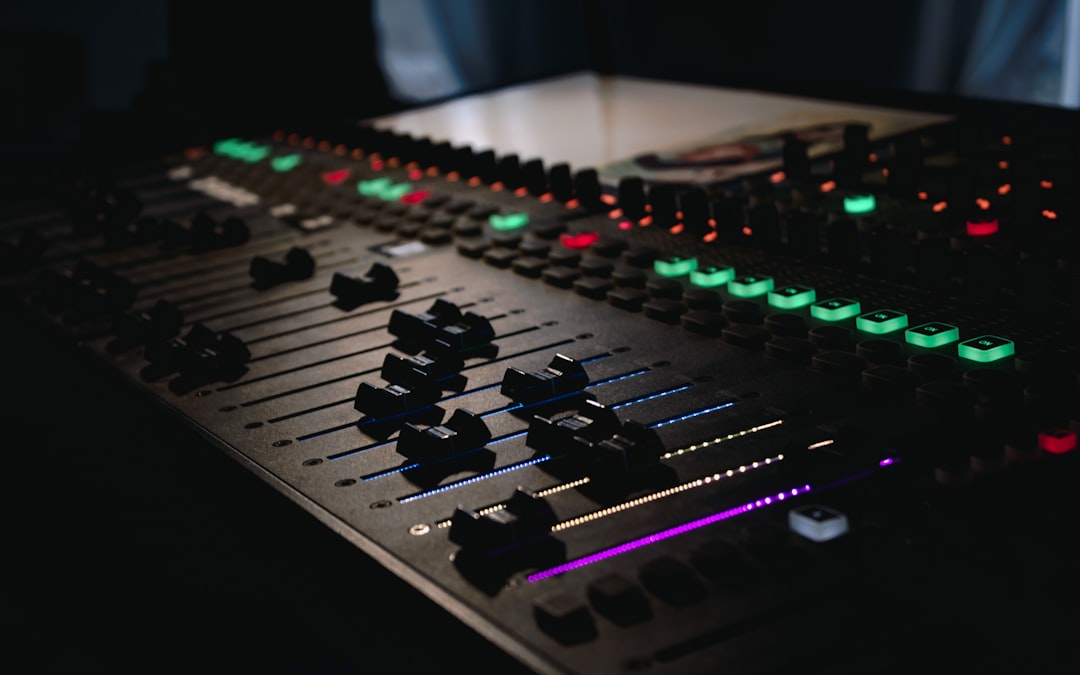
Your mixing board controls every input's volume, tone, and routing—but most people just push faders up and hope for the best. Proper gain structure is the foundation of clean sound. Start by setting each input's gain (the knob at the top of each channel strip) so the channel meter shows healthy signal (-12 to -6 dB) when the source is at normal performance volume.
If gain is too low, you'll push the fader up past 0 dB and introduce noise. If gain is too high, you'll hear distortion and clipping. The green/yellow/red LED meters on most mixers show you exactly where you are—aim for yellow peaks, never red. Test each mic and instrument individually during soundcheck, asking presenters to speak at their normal volume (not their "testing 1-2-3" whisper voice).
Once gain is set, use EQ to shape each channel's tone. Start with all EQ knobs at 12 o'clock (flat), then cut problem frequencies rather than boosting. Common cuts: roll off everything below 80 Hz on vocal mics to reduce stage rumble and mic handling noise; cut 200-400 Hz on female vocals if they sound muddy; cut 2-4 kHz if sibilance (harsh S sounds) is piercing.
Use the mixer's master fader to control overall system volume. During the event, you'll mostly ride individual channel faders to balance speakers, but the master stays at a consistent level (usually around 0 dB or "unity gain"). If you're constantly adjusting the master up and down, your gain structure is wrong—go back and fix individual channel gains.
5. Microphone Selection and Wireless Coordination
Choosing the right microphone type matters as much as speaker placement. Handheld dynamic mics (like the Shure SM58) are workhorses for live vocals, presentations, and panel discussions—durable, feedback-resistant, and forgiving of inexperienced speakers who eat the mic or hold it at odd angles. Lavalier mics clip to clothing and free up hands for presentations, but they pick up clothing rustle and are prone to feedback if speakers walk in front of PA speakers.
Headset mics offer the best of both worlds—hands-free operation with consistent mic-to-mouth distance, which means stable volume and minimal feedback risk. They're ideal for keynotes, fitness instruction, or theatrical performances. The tradeoff: they're more expensive to rent and require proper fitting (a loose headset bouncing around during an energetic speaker's TED-style talk ruins audio).
If you're using wireless mics (and you should for anything beyond a seated panel), coordinate frequencies before the event. Consumer wireless systems operate on the 2.4 GHz band, which overlaps with WiFi and Bluetooth—fine for a small office meeting, disaster for a tech conference where 500 people have phones and laptops creating RF noise. Professional UHF wireless (Shure QLXD, Sennheiser EW series) operates in licensed spectrum bands with far better reliability.
Use a frequency coordination app or your wireless system's built-in scan function to find clear channels. In dense urban areas like downtown SF, available spectrum is crowded—you may only have 4-6 clean channels even with a professional system. Plan your mic count accordingly and avoid the temptation to add "just one more" wireless mic without checking for interference. A wireless mic that drops out during the CEO's keynote is a career-limiting event for the AV tech.
Always have backup batteries—fully charged spares for every wireless mic and body pack. Mark battery install time with a piece of tape on each unit so you know when they're approaching the 4-6 hour runtime limit. Swap batteries during breaks, not mid-session. And test every wireless mic in every part of the venue during soundcheck; RF dead spots caused by metal structures, lighting rigs, or venue architecture can surprise you.
6. Soundcheck: Testing and Troubleshooting
Soundcheck is not optional. It's where you catch cable failures, discover that the client's laptop only has USB-C outputs and you brought HDMI adapters, and realize the lavalier mic picks up the presenter's necklace every time she turns her head. Schedule at least 45 minutes for soundcheck—longer for complex events with multiple presenters, live music, or video playback.
Start by testing each input independently. Play pink noise or music through your playback source to verify speakers are wired correctly (left to left, right to right) and producing full-range audio. Then test mics one at a time: have someone speak at normal presentation volume while you listen from several audience positions. Check for feedback, dead spots, and uneven coverage.
Walk the entire audience area during soundcheck with a wireless mic and your phone's SPL meter app. You're listening for consistent volume (±3 dB across the room is the goal) and frequency balance—if the back corner sounds muffled or boomy, adjust speaker angles or EQ. If you hear feedback, reduce mic gain, pull the speakers farther from the mics, or notch out the offending frequency with a parametric EQ (usually between 2-5 kHz for vocal mics).
Test all transitions: presenter mic to video playback, video back to Q&A mics, background music during breaks. If you're using a presentation laptop, connect it and advance through several slides to confirm transitions are smooth and wireless clickers work. If you're running backing tracks for awards walk-ons or dancer performances, verify start points and volume levels. These details seem small until they fail in front of 300 people.
Run a full audio rehearsal if time allows, especially for scripted programs with cues (awards shows, product launches, fundraising galas). This catches timing issues, missed cues, and lets presenters get comfortable with the system. The $200 you spend on an extra setup hour saves thousands in event reputation damage when something fails live.
7. Day-Of Operations and Real-Time Adjustments
Once the event starts, your job shifts from setup to live operation and problem-solving. Stay at the mixing board for the entire event—never leave it unattended. If you need a break, bring a backup operator or delegate monitor duties to someone who can reach you instantly. Audio problems compound quickly; a mic that starts feeding back quietly at 6:32pm will be screaming by 6:33pm if no one's riding the fader.
Ride the faders actively during live presentations. Experienced speakers have consistent mic technique and predictable volume; inexperienced speakers wander off-mic, turn their heads away, or switch from quiet conversational tone to shouting mid-sentence. Your job is to smooth these out so the audience hears consistent, intelligible audio. Don't be afraid to make bold moves—pulling a speaker down 4 dB when they suddenly yell into the mic is better than letting them blow out the PA.
Monitor for feedback constantly. If you hear the early ringing that precedes a full feedback howl, pull down the offending channel's fader immediately, then diagnose the cause (mic too close to a speaker, gain set too high, someone covered the mic capsule with their hand). If feedback persists, use the mixer's graphic or parametric EQ to notch out the frequency—but resist the temptation to over-EQ your way out of a gain structure problem. Proper mic placement and gain setting prevent 95% of feedback issues.
Keep a troubleshooting kit within arm's reach: spare batteries, backup cables (XLR, 1/4", power), a multi-tool, gaffer tape, and a flashlight. When a cable fails mid-event, you need a replacement in your hand within 30 seconds, not back in your truck across the parking lot. Label your kit clearly and keep it organized—fumbling through a pile of tangled cables while the client stares at you doesn't inspire confidence.
Communicate with your event coordinator or stage manager via text or headset if available. If you're about to fade music for a presenter intro, they should know. If a mic battery is low and you need to swap it during a transition, warn them. Good communication prevents awkward dead air and keeps the event flowing smoothly. The best AV techs make themselves invisible by anticipating problems and solving them before anyone notices.
Frequently Asked Questions
How many speakers do I need for my event?
It depends on venue size, audience count, and event type. For a seated audience in a carpeted room with normal 10-foot ceilings, figure one powered PA speaker (1,000-1,500W) per 100 people. A corporate presentation for 80 people needs a pair of speakers; a wedding reception for 250 needs at least four speakers plus subwoofers for music. Outdoor events or hard-surface venues (concrete, glass, metal) need more power because there's no sound-absorbing material to control reflections. When in doubt, consult our AV equipment catalog or contact a rental company with your venue specs—they'll help you right-size the system.
What's the difference between powered and passive speakers?
Powered (active) speakers have built-in amplifiers—you plug in power and send line-level signal from your mixer directly to the speaker. They're simpler to set up and don't require separate amp racks or heavy speaker cables. Passive speakers require external power amplifiers, which add cost, weight, and complexity but give you more control over amplifier choice and system configuration. For most events, powered speakers are the better choice unless you're building a permanent installation or tour-grade system.
How do I prevent feedback during my event?
Feedback happens when a microphone picks up sound from a speaker and creates a loop. Prevent it by keeping mics behind speakers (never point a mic at a speaker), setting proper gain structure so you're not over-amplifying, using directional (cardioid) mics that reject sound from the sides and rear, and positioning speakers away from reflective surfaces that bounce sound back toward mics. If feedback starts during the event, reduce the volume on that channel immediately, then identify and fix the cause. A parametric EQ or feedback suppressor can notch out problem frequencies, but proper placement and gain structure are your first line of defense.
Can I use Bluetooth speakers for my event?
Bluetooth speakers work fine for backyard parties and small gatherings (under 30 people in a small room), but they're inadequate for professional events. Most Bluetooth speakers have limited power (under 50W), poor bass response, and noticeable audio lag that makes them unusable for video playback or live mics. They also suffer from interference in crowded RF environments like hotels and conference centers. For any event where audio quality matters, rent proper PA speakers with wired connections. The cost difference is minimal and the quality difference is massive.
What should I do if a wireless mic stops working mid-event?
First, check the battery—most wireless failures are dead batteries. Swap in a fresh battery from your backup kit and test. If that doesn't fix it, check that the transmitter is on and the receiver is showing signal. If still no audio, switch to your backup mic (you did bring a backup, right?). Common causes: RF interference from WiFi or other wireless gear, someone accidentally switched the transmitter off, or the mic was dropped and the capsule broke. This is why professional events always have spare wireless mics on standby.